I was using smart door locks for many years. One of my favorite devices is the Kwikset Smart Key lock. It is useful and fashionable at the same time. But sometimes you can lose or just misplace your original key. What do you do then? Here I go through two solutions to this unexpected problem; one of them is written step-by-step for your convenience.
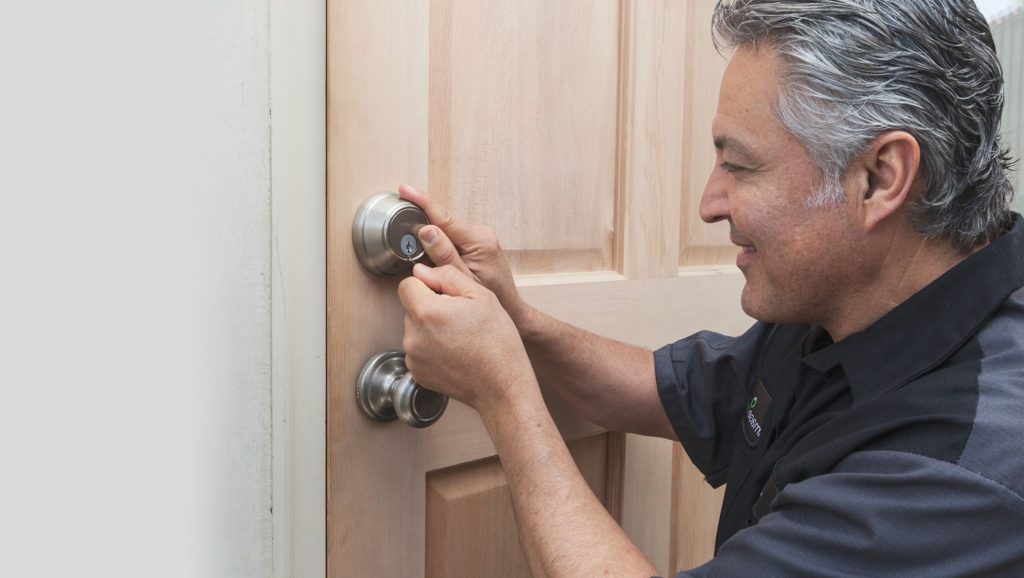
Many real estate owners think that if they need to rekey their locks, they have to call and hire a professional locksmith. But today this is not the case anymore. Rekeying the Kwikset Smart Key lock is a quite simple process even for a common user.
Almost any device owner can rekey their Kwikset Smart Key lock without many problems. To ease the process for you, I have made this article where I describe the methods of rekeying that might become useful for you. Following these solutions will solve your misfortune.
Getting inside the Kwikset Smart Key Locks
You must become accustomed to the way the device operates before you attempt to disassemble and rekey it.
How does the Smart Key work
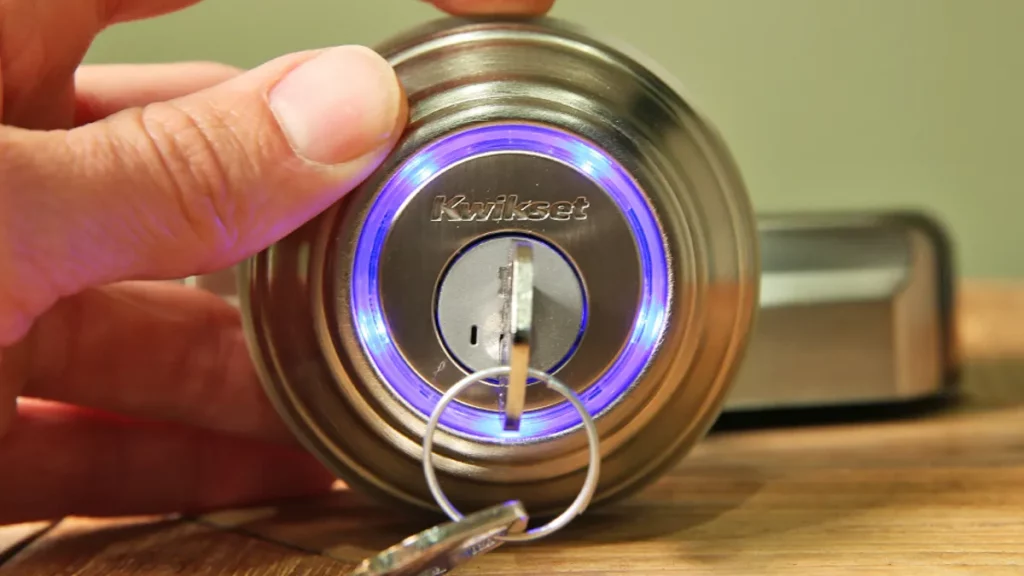
If you have the original key with you and it doesn’t malfunction, you just have to use it to rekey the Kwikset Smart Key lock device. It has a little hole on the front side. You should insert the key inside it and turn it to about 90 degrees.
When the key is inside the Kwikset SmartKey lock and you have turned it, you can remove it safely. Then insert another key inside. You have successfully rekeyed your Kwikset Smart Lock and it took you just one minute. Now you can freely use the new Kwikset key.
If you don’t have an original key in your hands, you can’t turn the lock cylinder to 90 degrees. This makes it seemingly impossible. You can’t use the Smart Key lock feature to rekey anymore. Therefore you have to disassemble the lock and perform a manual rekey on your Kwikset Smart Key.
Using the feature
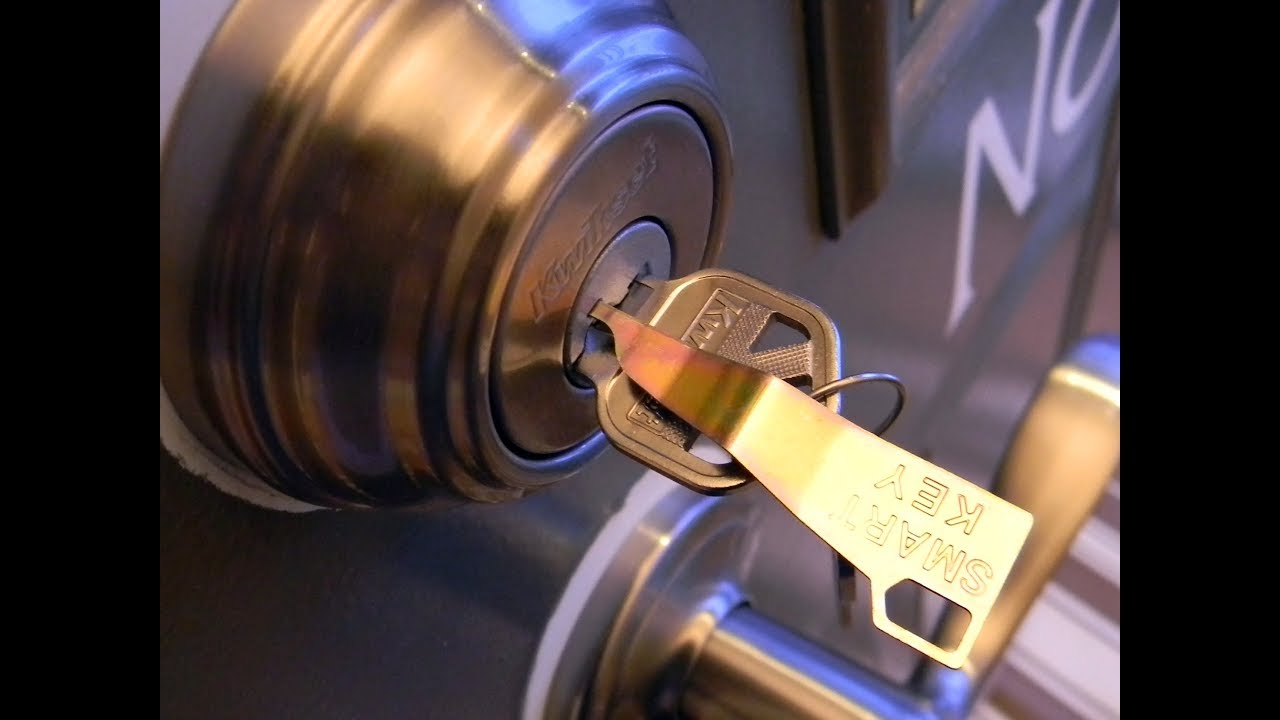
You need only three items to re-key the Kwikset lock device: a functioning Kwikset key, a Smart Key Learn Tool, and a new key. You also have to follow a few simple steps:
- Insert the original key and turn it at a ¼ of a full turn clockwise.
- Insert and remove the Smart Key Learn Tool.
- Remove the working key and insert a new one instead.
- Turn the new key ½ of a full turn clockwise.
You should have successfully rekeyed your door lock.
Glitches may arise
Sometimes an improperly used or installed lock can suffer from unexpected bugs and glitches. If you have encountered some of these problems, you should perform troubleshooting for your device. You can do this with the help of these tips:
- The key AND the tool have to be inserted into the lock fully. Otherwise, you risk jamming the lock and neither of the keys, nor the old one, nor the new keys, will work. You will have to take the device to the local Home Depot or Lowe’s and reset it.
- Turn the working key only for a ¼ of a turn.
- To rekey the lock, you need to have both the old key and the learning tool. Therefore, if you have lost only one of them, the intruders won’t be able to break into your residence still.
The parts that the lock consists of
There are some basic parts that you will certainly encounter while disassembling the mechanism of the device. Here’s the list of these:
- The cylinder housing. It holds the cylinder inside the door lock.
- The cylinder plug. It contains the wafers that are required for the locking system to function.
- The cylinder core. It holds the cylinder plug.
- Wafers. These are small and thin levers that provide the work of the locking mechanism.
Things you need for this solution
Let’s go over a quick review of what items will you need to perform an efficient Kwikset lock reset key. You don’t have to possess a working key for this method but will need some common instruments, such as standard types of screwdrivers. Therefore even an unprepared homeowner can successfully finish the re-keying process and not encounter any serious problems while they do it.
Step-by-step instructions for rekeying the Kwikset Smart Lock if you don’t possess a key
Finally, let’s go over this solution step-by-step.
Step 1. Prepare all the tools and a suitable workspace
The first thing you should do is to prepare the necessary tools and a comfortable enough workspace. The best one would be a clean bench or a table with a good light source above it. You should have space and the ability to see everything you work with.
I also recommend using a magnifying glass installed in a way that you can work with the device using both of your hands. Small tools are very comfortable to work with the lock; a good example of such a tool is a simple tweezer. They allow us to work with the smallest lock mechanism components while not having professional skills.
Let’s conclude this paragraph with a list of all the needed tools and parts of a workspace:
- A clean table or a workbench.
- A great lighting source, for example, is a tabletop desk lamp.
- A magnifying glass was installed at the workspace.
- A small instrument (such as a pair of tweezers) for manipulating the mechanism.
You are now ready to start the actual process of rekeying the lock.
Step 2. Getting the lock out of the door
You have to remove a pair of screws that hold together the outer and inner assemblies inside the lock device. The lock can have key slots on both sides. If so, you need to re-key both of them, or you risk that your new key will work for only one of the ways.
Step 3. Removing the cylinder from the housing
The Kwikset Smart Key lock cylinder must be helped to slip out of its housing. Set it aside and look closely at the cylinder core. It should be held inside the housing with a help of a tiny retaining clip that can slide only to one side, therefore releasing the lock cylinder. To slide it, you will need a little flat-headed screwdriver.
Step 4. Getting out the cylinder plug
To remove the plug from the cylinder, you have to align the wafers with shear points. What instruments can you use for this? A pick would be the best choice. But you can also use any small, thin tool that works the same way as a pick and can fit inside the keyhole.
You should use this tool to move the wafers up and down. Also, apply a slight push on the Kwikset SmartKey lock plug. If you don’t have experience, then you will need some time to get it right and successfully align the wafers.
Have patience. When the wafers are aligned with the shear points, the plug will slip out of the lock core.
Step 5. Pay attention before you pull the plug out
The plug consists of two parts. When it’s free from the cylinder core, it will become separate. You have to hold onto the plug or the internal parts will come free too. You don’t want that to happen, so be careful when you pull the plug out of the core. This is just a caution.
Step 6. Working with the reset tab
Now you need to turn your attention to the wafer alignment and pull out the reset tab. Yet again, with no experience, you will spend some attempts to train for a bit until you get it right. That’s completely normal. When you find the right alignment, you should hold the reset tab.
Step 7. Inserting the new key
Now you should simply insert your new key into the keyhole, all while holding the reset tab. This should be done at the same time, which is important. Only when you have fully inserted the key inside the SmartKey lock plug, you can release the reset tab safely. The Kwikset Smart Key locks have been successfully rekeyed.
Step 8. Reassembling the lock
Pay attention to the order in which you have been disassembling your device. Now you should repeat the process but in reverse order. Very important thing is to hold the plug well, both of its details aren’t to be allowed to slip away. When the plug is inside the lock core again, you can reinstall the lock on the door. Remember that a new key is now used.
Another way to reset the Kwikset lock
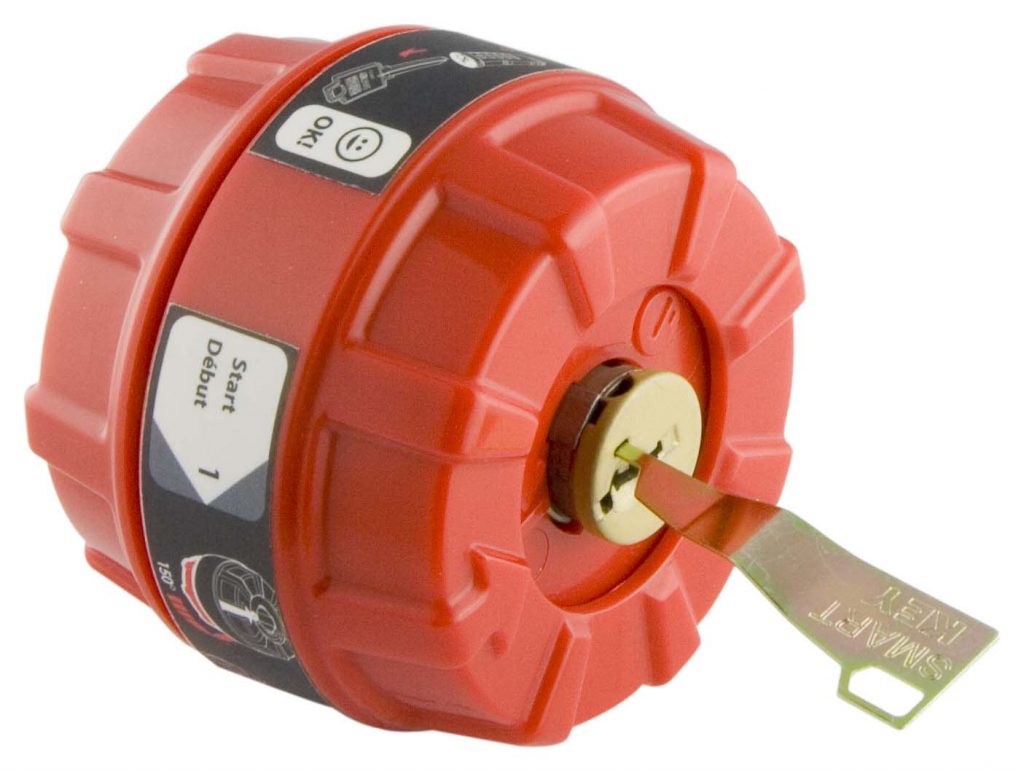
For some users, disassembling their lock and manually resetting it to a new key doesn’t feel like the right choice. But the good news is that there is another option available for them. Kwikset company created a Smart Key Reset Cradle. It can be bought online or from a locksmith directly.
You still have to remove the lock core from the housing, though. But now you don’t have to disassemble the device further. Just put the core into the cradle, which automatically resets the cylinder to a position of learning the new key pattern.
The reset cradle is a useful device not only for inexperienced users but also for landlords that have many locks. Their attendants frequently change and not all of them return the keys to the landlord. This makes the rekeying a frequent process. The cradle makes it much quicker and easier for a reasonable additional price of buying it.
Conclusion
If you have lost your working key, it’s not much of a problem for a Kwikset Smart Key because you can use this re-key technology simply even without using the original key.
The process is simple and doesn’t require calling a locksmith. This article, I hope, will help you to finish the SmartKey lock re-key successfully.

