Yale smart lock battery replacement is a crucial part of the key-free touchscreen deadbolt user experience. Sooner or later you’ll have to perform it, so it’s better to know in advance what steps should be taken and how to avoid mistakes. Otherwise, you’re risking battery death and various malfunctions.
Here you’ll learn every basic bit of info regarding the battery renewal procedure, such as battery type, exact steps, and what to prepare beforehand.
Things to ensure before changing the batteries
Think about how you’ll utilize the old Yale lock batteries. It’s advised against simply throwing them away. Please, think about the environment and choose recycling.
Then prepare a proper workspace and these things:
- A working Yale lock push button deadbolt.
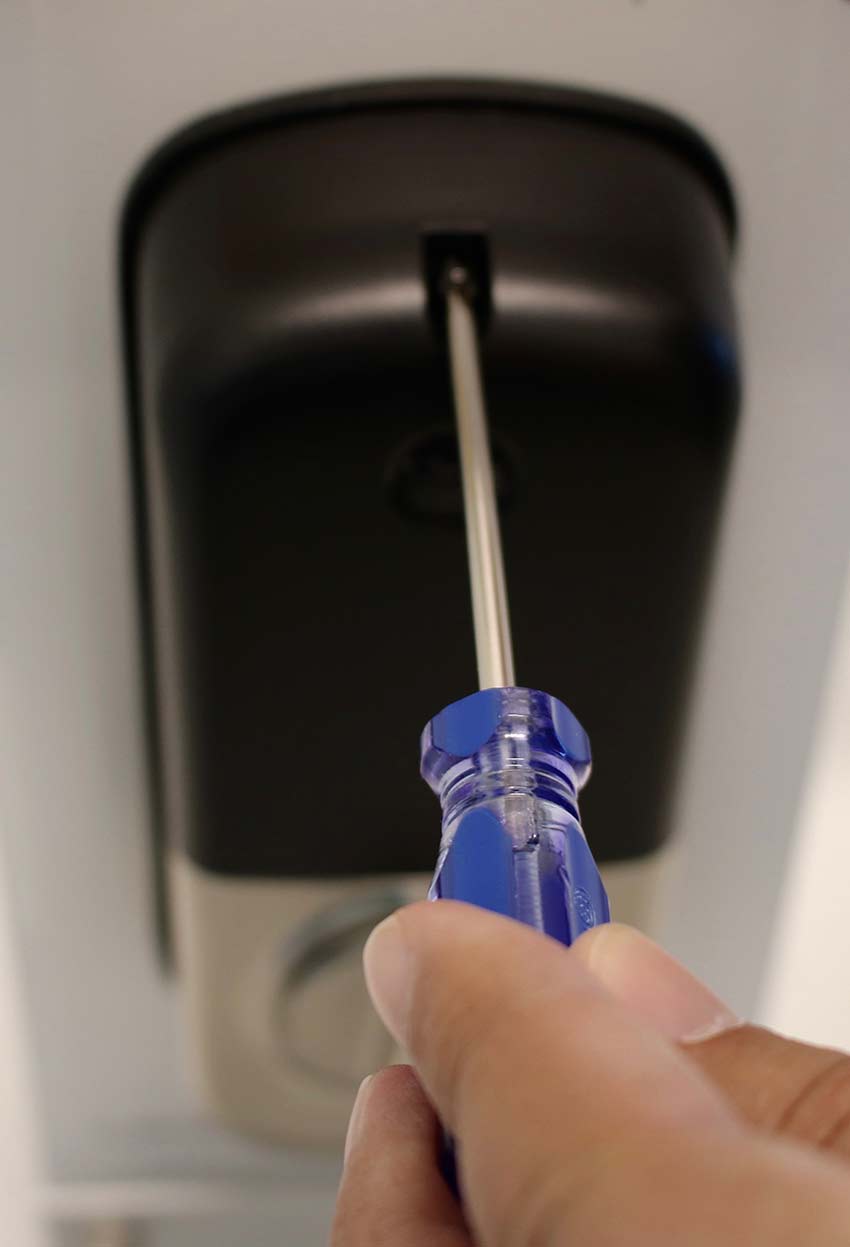
- A Phillips-head screwdriver to withdraw the battery cover.
- A set of 4 non-rechargeable AA batteries.
In case you’ve got an active Xfinity Home subscription, disarm the system. Otherwise, you’ll receive false alarms during the replacement.
How to fit the new cells inside the battery compartment
Let’s go over the crucial steps:
- Carefully unscrew the battery cover. Rotate every single screw counterclockwise to loosen it.
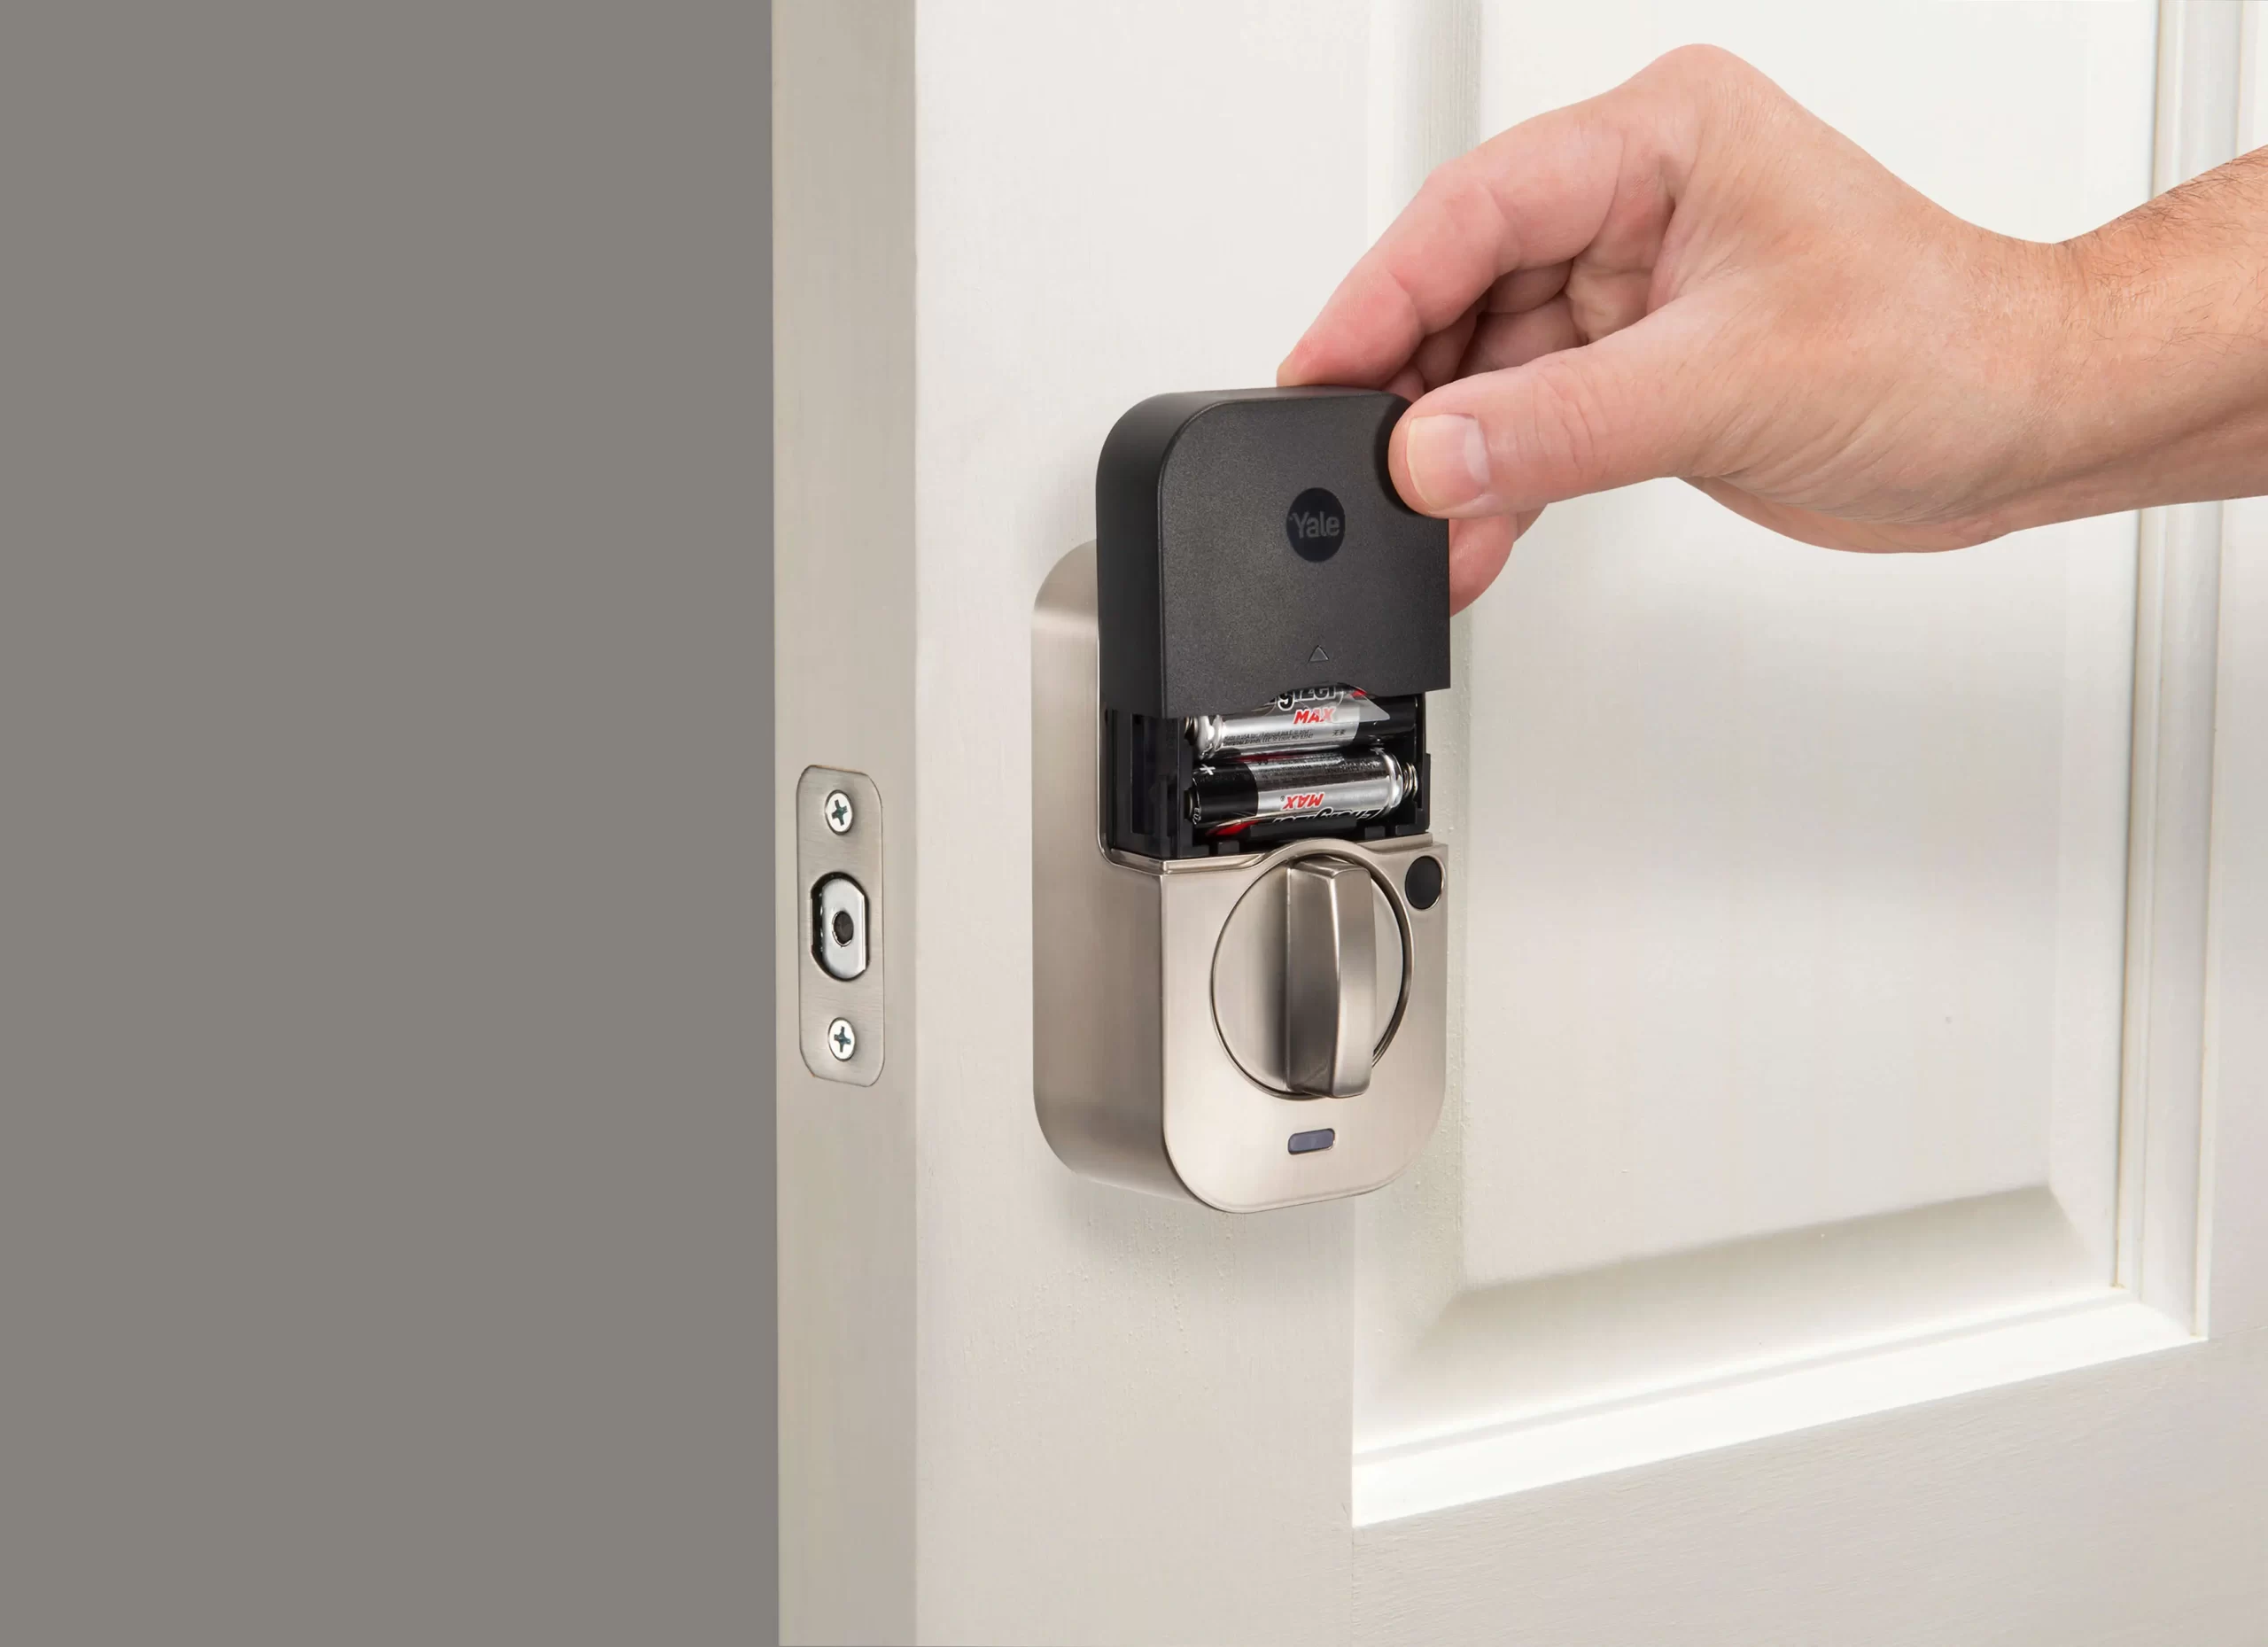
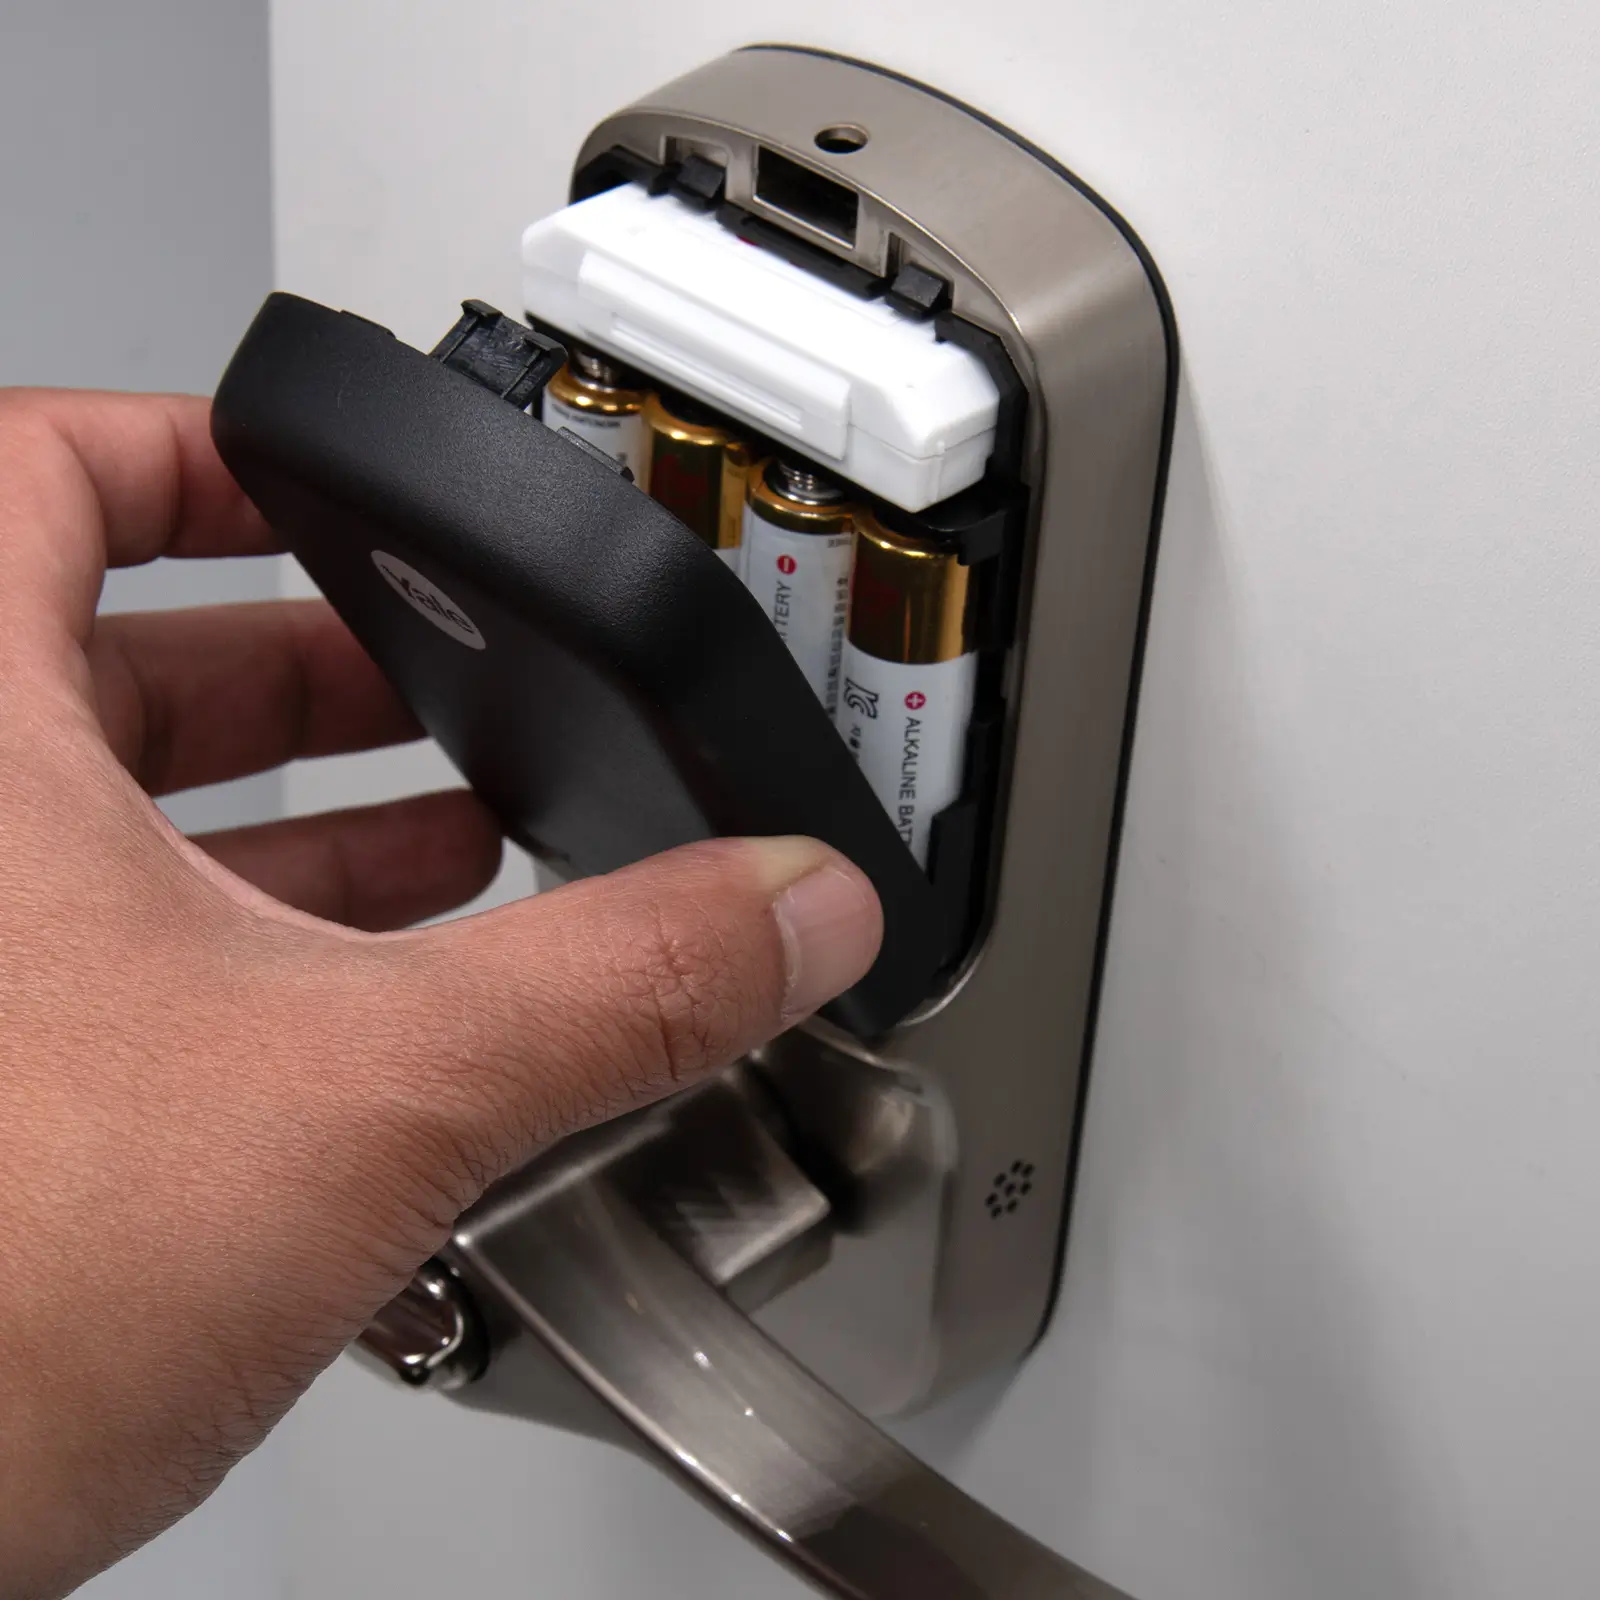
- Slide the battery cover upwards.
- Using your fingertips, slowly withdraw the batteries one at a time.
- Place the new cells in the battery slots. Pay attention to their positions and the positive sign on the lock’s interior — they must match.
- Wait for an ascending/descending tone or 4 ascending beeps (depending on the model). Then the LED should flash blue & red.
- Confirm the low battery alert has been dismissed.
- Close the battery compartment by aligning the battery cover.
- Secure the screws that hold the battery cover.
Some general tips
Here are some tips regarding the lock touchscreen deadbolt management:
- Pay attention to the low battery alert. Don’t dismiss them or prolong the time the drained batteries operate, or the lock batteries die.
- Monitor the battery level of your device. It’s best to renew the batteries when it’s around 25% low.
- Always have a new set of cells handy. This way you can conveniently replace the old pack without hassle as soon as you receive a low power notification.
- Only utilize the company-recommended products (AA batteries). Some people provide a tip to fit lithium batteries, but it’s very bad advice to follow. Products other than non-rechargeable AA batteries will cause errors, power drainage, and even acid leakage.
- If you’re facing a dead battery, you won’t be locked out permanently. Still, it’s best to avoid this scenario due to its inconveniences as well as damage to the locking mechanism.
- Never mix old and new batteries. This pack won’t work properly and will cause many annoying problems in the long run.
- Don’t overtighten the screws when securing the black battery cover.
Conclusion
Now you know how to change the power cells on your key-free touchscreen deadbolt. With this knowledge, you can create an optimal battery management routine, which is arguably the most important part of maintenance.
Changing the power cells is simple. You don’t need professional help to do this. It’s possible to take the battery cover away with regular instruments. Prolonging the procedure is worse for the locking mechanism.
Remember to monitor the energy levels regularly and renew the batteries every couple of months.


